Venturing into the world of building smart contracts on Ethereum can very daunting at first. Where do you start?
https://www.ethereum.org/greeter is not a great place to start because it doesn’t give any context or start with the basics. Once you’ve built your first smart contract, the greeter makes a lot more sense.
https://medium.com/@ConsenSys/a-101-noob-intro-to-programming-smart-contracts-on-ethereum-695d15c1dab4 is pretty good. What I wanted was more simple and basic though.
I continued searching and plucked bits and pieces from all over the place and this is what I’ve come up with.
A super simple smart contract on Ethereum
In this article, I’m going to demonstrate how to build a very simple smart contract. This smart contract allows the user to deposit tokens and allows the user to query for the balance. Two simple functions.
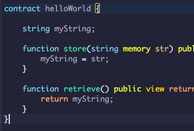
Step 1: The code
The comments should explain what the code does.
// A simple bank smart contract where the user
// can deposit and query funds.
// by @seandotau 16 April 2017

// This needs to be the first line.
pragma solidity ^0.4.0;

// give your contract a name
contract aBank {

    // this declares a key/value array called balanceAccount.
    // the key is address and the value is an unsigned integer
    mapping (address => uint) balanceAccount;

    // declare a deposit function that takes an input called amount
    function deposit(uint amount) public {
        // add amount to the balance of the sender
        balanceAccount[msg.sender] += amount;
    }

    // a getBalance function that accepts no inputs but returns
    // the amount in the balanceAccount array
    function getBalance() returns (uint balance){
        return balanceAccount[msg.sender];
    }
}
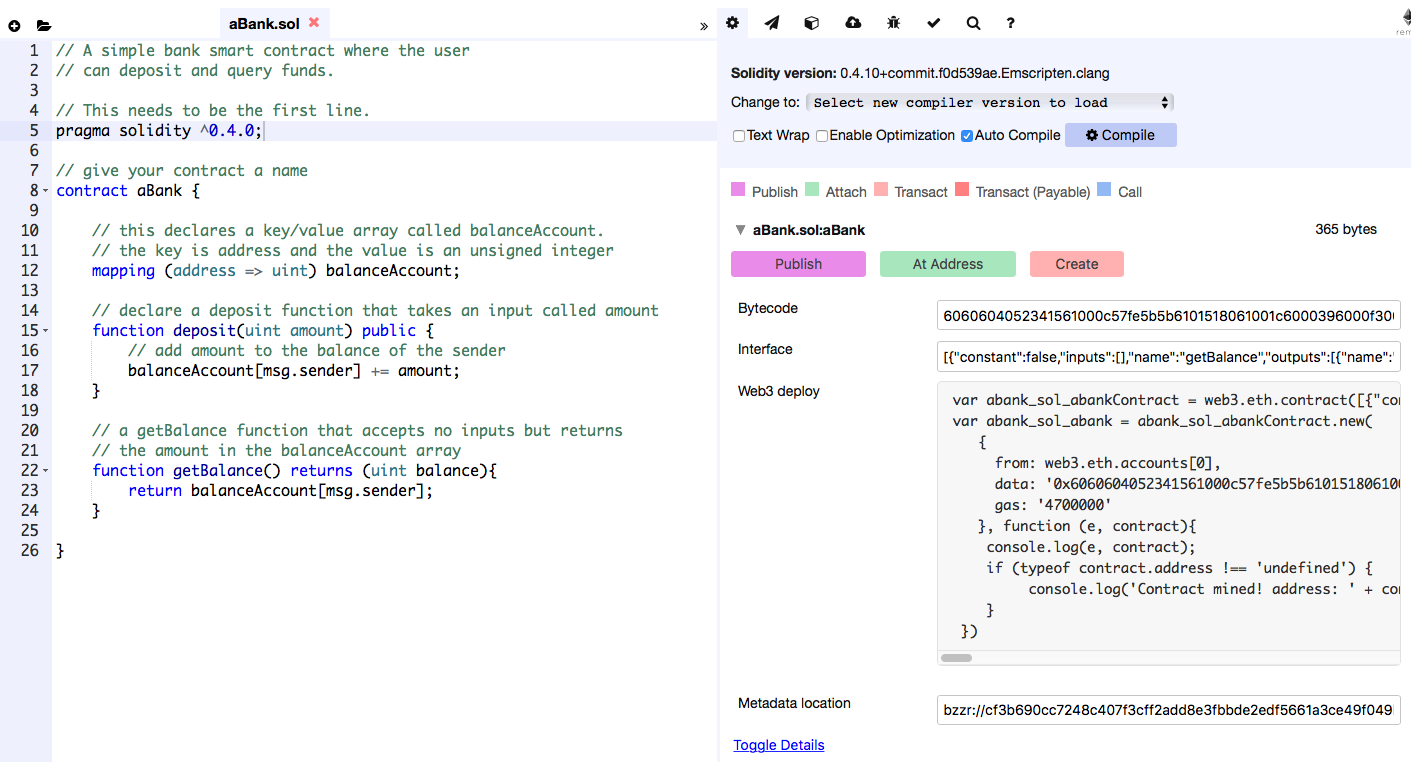
You can use your favourite editor or Remix (https://ethereum.github.io/browser-solidity) which is an Ethereum web based IDE which is what I’ll be using and recommend you do to. It helps the learning process. The code is also available at https://github.com/seandotau/SuperSimpleSmartContract
Copy the code into Remix and ensure Auto Compile is ticked. This is what you should see.
What next? This is the tricky part.
Step 2: The red pill or the blue pill?
In order to see this contract in action you have to make a decision. Do you want to deploy this on testnet or on testrpc?
Testnet is good but a pain in the butt. It’s a real blockchain but you have to download the entire testnet blockchain and sometimes it doesn’t even work and you have a just wait until it does. I know, it sounds weird but you’ll understand when you choose this option.
testrpc is fast but it is all command line. It’s not a real blockchain but it allows you to talk to the smart contract via an API. That is super neat because you can overlay a webpage on top.
Let me go through both examples so you know what I’m talking about.
Testrpc
The first step is to install testrpc. Follow the instructions here. You need to have node.js v6.9.1 or greater and a whole bunch of other dependencies based on your system. This is part of the reason why it takes so long. The environment needs to be prepped.
Type which testrpc to see if you have it already. If you do, you should see this:
![]()
Once installed, when you run it by typing testrpc, you should see this:

Testrpc can be thought of as an in memory blockchain. Testrpc creates 10 test accounts to play with automatically. It also comes preloaded with 100 fake ethers.
What you have to do now is open up another terminal to connect to this sandbox environment.
Here, you need to have node installed. Typing “which node” will tell you if you have it or not.
![]()
https://coolestguidesontheplanet.com/installing-node-js-on-macos/ is a neat guide for mac users.
Then run the following command to connect to testrpc
> Web3 = require('web3')

> web3 = new Web3(new Web3.providers.HttpProvider("http://localhost:8545"));
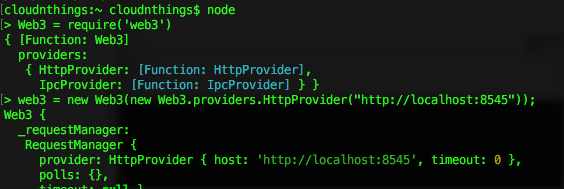
Once it is connected, you can run this command to test
> web3.eth.accounts
If you get a list of test accounts, you are good to go. In fact, if you look closely, these test accounts should match exactly to those in the testrpc terminal.
If you get this error:
> Error: Invalid JSON RPC response: undefined
it might mean that testrpc is not running. Check your other terminal screen.
Now you have to compile the contract.
Step 3: Compile your smart contract with solidity.
Take the smart contract code from above and save it to a file. Or download this if you’re lazy. Don’t forget to rename it to aBank.sol
Now comes the fun part. Run these commands from within node in your second terminal window.
> code = fs.readFileSync('aBank.sol').toString()

> contract = web3.eth.compile.solidity(code)
The trick is to place the file in a location where node can find it otherwise you’ll get
> Error: ENOENT: no such file or directory, open 'aBank.sol'
If you place it in your home location, it should compile fine. ie /Users/<your_username> for Mac users.
The second command requires that you have solidity installed. Take another side track to install this.
Go to https://github.com/ethereum/go-ethereum/wiki/Contract-Tutorial and search for Install SolC on Mac OSX (or whatever your OS is). On Mac it’s basically:
> brew tap ethereum/ethereum
> brew install solidity
> which solc
Note that it took about 30 minutes to install so go get some fresh air while it installs. It will look like nothing is happening but have faith.
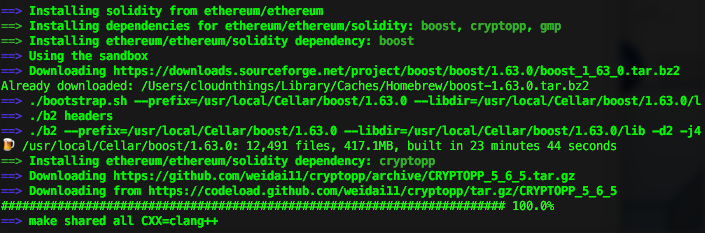
Here it took 23 minutes 44 seconds to build one part of it. I’m grateful it didn’t take 90 minutes like this guy https://github.com/ethereum/solidity/issues/1199
Now that you’ve got solidity installed, and half your day has gone, it’s time to compile the code.
> contract = web3.eth.compile.solidity(code)
Time to deploy the contract.
Step 4: Deploy it already
Run the following:
 > aBankContract = web3.eth.contract(contract.info.abiDefinition)

> deployedContract = aBankContract.new({data: contract.code, from: web3.eth.accounts[0], gas: 4700000})

> contractInstance = aBankContract.at(deployedContract.address)
The first command creates a contract object. The second deploys it with 3 fields. data, from and gas. The third grabs the contract address (which is a hash) and stores it in the contractInstance variable. We’ll use this soon.
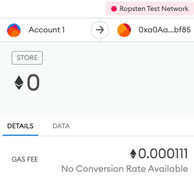
Step 5: Talk to me smart contract
To get the balance of the bank type:
> contractInstance.getBalance.call().toString()
To make a deposit:
> contractInstance.deposit('10', {from: web3.eth.accounts[0]})

And that is all there is to it folks!
I did say I’d show you how to use testnet instead of testrpc. I’ll do that in my next post.