
Introduction
The article follows from Part 1: Subql Hello World in less than 5 mins where we look under the covers at what is really going on because let’s face it. You can’t really understand anything new in 5 minutes. The exercise was really to get familiar with the technology, test connectivity and see if you could get something tangible working.
Subql init
The first command we ran was:
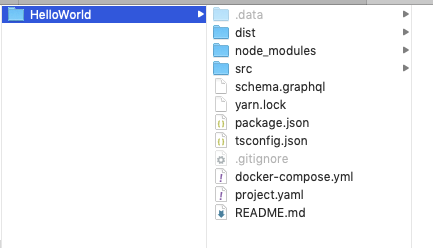
subql init --starter subqlHelloWorldThis does the heavy lifting and creates a whole bunch of files for you. As noted in the official documentation, “you will mainly be working on the following files:”
- The Manifest in
project.yaml - The GraphQL Schema in
schema.graphql - The Mapping functions in
src/mappings/directory

These files are the core of everything we do. As such, we’ll dedicate more time to these files in another article. For now though, just know that these files define the graphql schema, ie a blue print or a glossary of how you can query the blockchain, the project yaml file which contains “configuration” type parameters and of course the mappingHandlers typescript which can be seen as the code engine of everything.
The next thing we did was:
yarn installnpm install can also be used as well.
Short history lesson. Node Package Manager or npm was initially released in 2010 and is a tremendously popular package manager among JavaScript developers. It is the default package that is automatically installed whenever you install Node.js on your system. Yarn was initially released by Facebook in 2016 with the intention to address some of the performance and security shortcomings of working with npm (at that time). Feel free to Google for even more history.
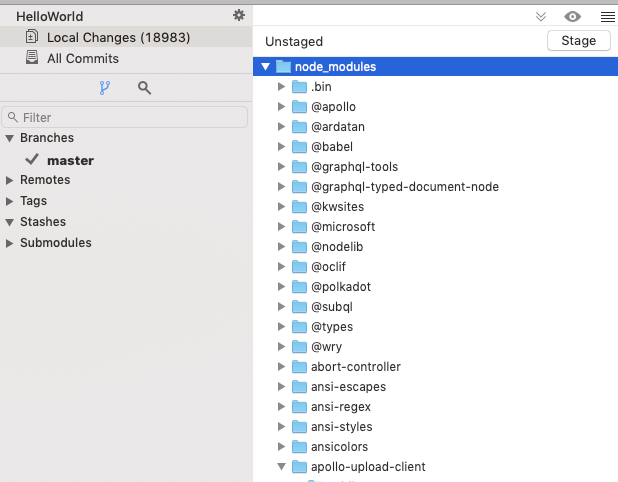
What yarn does is look at the package.json file and download various other dependencies. Looking at the package.json file, it doesn’t look like there are many dependencies, but when you run the command, you’ll notice that 18,983 files are added. This is because each dependency will also have their own dependencies.
The next command we ran was:
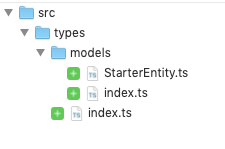
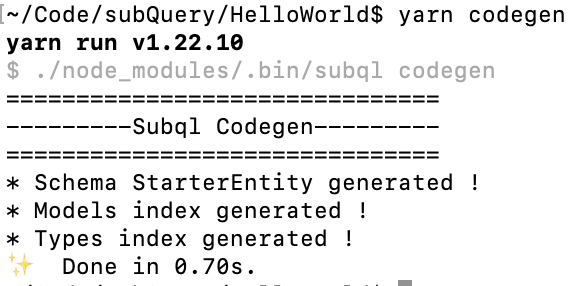
yarn codegenWhat this does is it fetches the graphql schema and generates the associated typescript. (Hence the output have a .ts extension).
Next the build command was run.
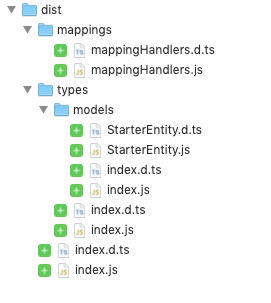
yarn buildThis will be familiar for seasoned programmers. This creates a dist folder performing things such as code optimisation preparing for a deployment.
The final step was the combined docker command.
docker-compose pull && docker-compose upThis can be run separately as well. The pull command grabs all the required images from Docker Hub and the up command starts the container.

When the container is started, you’ll see the terminal spit out lots of text showing the status of the node and the graphql engine. It’s when you see:
subquery-node_1 | 2021-06-06T02:04:25.490Z <fetch> INFO fetch block [1, 100]
That you know that the subql node has started to synchronise.
You may get errors such as:
subquery-node_1 | 2021-06-06 02:05:34 RPC-CORE: health(): Health:: disconnected from wss://polkadot.api.onfinality.io/public-ws: 1006:: Connection dropped by remote peer.
subquery-node_1 | 2021-06-06 02:05:34 API/INIT: Health keepalive check failed: disconnected from wss://polkadot.api.onfinality.io/public-ws: 1006:: Connect
If you do, stop the node with ctrl+c and start the container again.
Then head over to http://localhost:3000/ and run the following query
{
  query{
    starterEntities(last:10, orderBy: FIELD1_ASC){
      nodes{
        field1
      }
    }
  }
}
You should see:
{
  "data": {
    "query": {
      "starterEntities": {
        "nodes": [
          {
            "field1": 2046
          },
          {
            "field1": 2047
          },
          {
            "field1": 2048
          },
          {
            "field1": 2049
          },
          {
            "field1": 2050
          },
          {
            "field1": 2051
          },
          {
            "field1": 2052
          },
          {
            "field1": 2053
          },
          {
            "field1": 2054
          },
          {
            "field1": 2055
          }
        ]
      }
    }
  }
}
This is returning the last 10 block count on the Polkadot mainnet and if you keep refreshing it by clicking the grey play button, you should see the block count change.
Now depending on the speed of your computer and internet connection, it could take days for a full blockchain synchronisation. For me, the estimate time was:
subquery-node_1 | 2021-06-06T02:09:49.285Z <benchmark> INFO 28.14 bps, target: #5381789, current: #5111, estimate time: 2 days 05 hours 04 mins
Changing the starting block
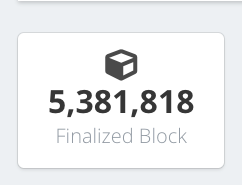
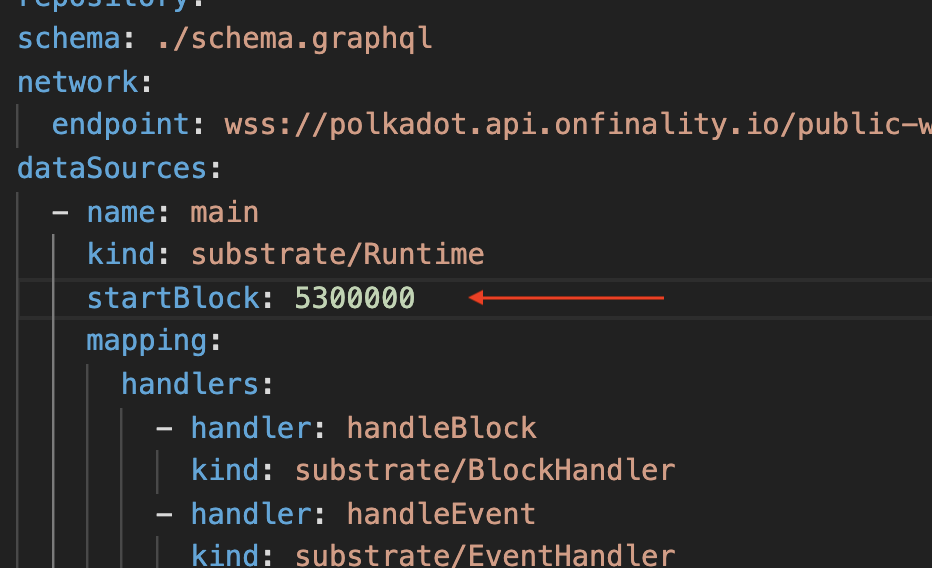
A trick you can use is to modify the startBlock to something closer to the current block height which can be viewed at: https://polkascan.io/ At the time of this article it was 5,381,818.
I set the startBlock to 5.3M,
Don’t forget to delete the hidden data folder as well if you are NOT running this for the first time. This is because this folder will have old block data from your previous startBlock number and if you don’t delete this, subql will try to restart from where it left off and not from the new startBlock value.
I then re-deployed it with docker-compose up and my block count started from 5.3M.

This would then take only just over 1 hr to complete the sync.
subquery-node_1 | 2021-06-06T02:33:33.995Z <benchmark> INFO 17.84 bps, target: #5382027, current: #5300497, estimate time: 0 days 01 hours 16 mins
Of course, if you were doing historical queries older than 5.3M blocks, you would not get any data!
Summary
In this article we took a closer look at what the various commands we ran blindly in Part 1: Subql Hello World in less than 5 mins actually meant. In subsequent articles we’ll take a closer look at how we can pull out or “query” for more useful information. See you then!