Ever wanted to receive payment with a cryptocurrency and then enable an action such as open a door or turn on a light? Here is a quick overview of how this can be done with Ethereum, a Raspberry Pi and Nodejs.
Summary
The idea is to display a QR code on a tablet where payments can be made with crypto and upon receipt of payment an LED is turned on. The webpage is running on a Raspberry Pi which is also running geth which is the Ethereum blockchain client. The neat thing is that there is an experimental “light” sync mode that only obtains the current blockchain state and only requires ~400Mb of disk space.

See it in action
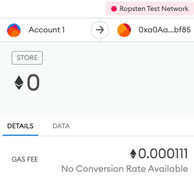
In the video above I use Metamask to make the test ether payment. It takes about 30 seconds for the transaction to be acknowledge and the LED to light up.
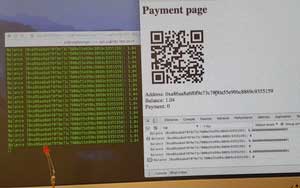
Html Payment Page
The payment page basically consists of a QR code for the user to make a crypto payment and in the background, it connects to the local Ethereum blockchain to get the current balance and to listen for the next block to arrive. When it does, it queries the balance again and if there is a change, then it determines a payment has been made. The code then updates the payment field on the page so the user knows that payment has been received.
Raspberry Pi Part I
The Ethereum client (geth) that talks to the Ethereum blockchain was loaded onto the Raspberry Pi and sync’d with the Ethereum blockchain in “light” mode. Basically this command was run:
> geth --testnet --syncmode "light" --rpccorsdomain="*" --rpcaddr="localhost" --rpcport="8545" --rpc
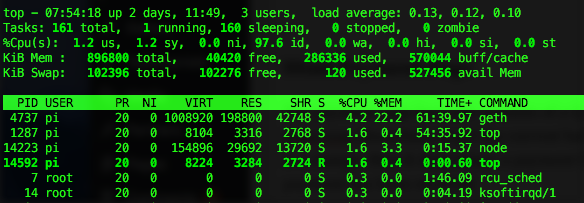
It works very well on the pi. I’ve had it running as 24 x 7 for the past 5 days and it has been very stable. It takes its fair share of memory and CPU but impressed nonetheless.
Raspberry Pi Part II
The second part is running nodejs on the Pi which monitors the blockchain and executes a bash script to turn on the LED. (In the background it’s actually setting gpio pin 27 high).
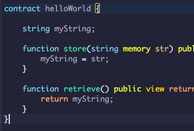
The source code can be found here.
To find out how to install geth on a Raspberry Pi check out my earlier post. I actually got it working on a Pi 2 running Wheezy but found a Pi 3 lying around that I had forgotten about. I flashed it with the latest OS which was Raspbian Stretch Desktop version, used a 16Gb SD card instead of 8Gb, and the built in WiFi worked wonders. It took a few hours to get up and running and was relatively quick and easy.
Next Steps?
I’m looking to extend this with something like micro Raiden and instead of monitoring the blockchain, have it monitoring the status of a smart contract to leverage more features. Stay tuned!