
Running the Hashgraph hello world sdk using command line is quite simple and fast but if you want to start building your own applications, using and IDE like Eclipse is the way to go.
Step 1: Download the Swirlds SDK.
Download the Swirls SDK at https://www.swirlds.com/download/ and extract it.
Step 2: Download & Install Eclipse
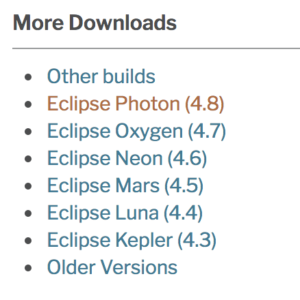
Download the latest version of Eclipse at: http://www.eclipse.org/downloads/. The Hashgraph docs mention Eclipse 4.7 (Oxygen) but 4.8 (Photon) has just been released. We’ll be using Photon here but either will be fine even including older versions.
Note: If you get this error: “The JVM shared library “/Library/Internet Plug-Ins/JavaAppletPlugin.plugin/Contents/Home/bin/../lib/server/libjvm.dylib” does not contain the JNI_CreateJavaVM symbol“, then check out how to resolve it here.
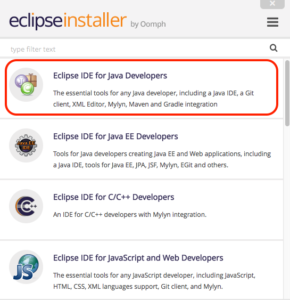
Once the install completes, select Eclipse IDE for Java Developers. The Enterprise Edition (EE) version will work as well.
Then select an installation folder and accept the T&Cs and open up the application.

Step 3: Import Hashgraph SDK Project
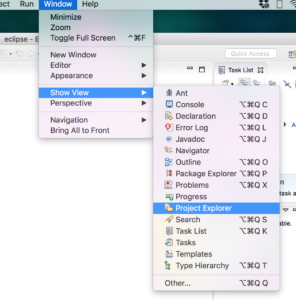
Ignore the welcome start up page and click ‘Workbench’ in the top right hand corner. If you can see the package explorer pane on the left hand side navigate to Window > Show View > Project Explorer.
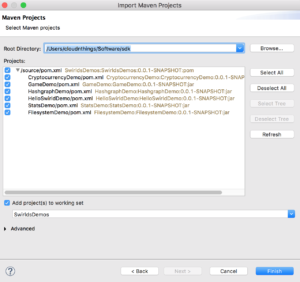
Then select File > Import > Maven > Existing Maven Projects
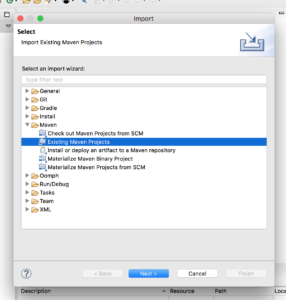
Then browse to the sdk folder and select all the projects and click finish.
Step 4: Build the project with Maven Install
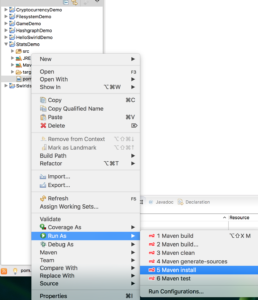
Expand StatsDemo and right click on pom.xml. Then choose Run As > Maven Install.
[INFO] ------------------------------------------------------------------------

[INFO] BUILD SUCCESS

[INFO] ------------------------------------------------------------------------

[INFO] Total time: 4.850 s

[INFO] Finished at: 2018-07-07T12:48:23+12:00

[INFO] ------------------------------------------------------------------------
This builds the project.
Step 4: Running Hello World in Eclipse
Next you want to run it and set the configurations. The easiest method is to run it as a Java application which sets up most of the default configurations. To do this, right click on the src folder and click on the green arrow on the top bar.
It may seem like nothing is happening but configurations are being set in the background. You’ll have to modify these slightly by right clicking on the src folder > Run As > Run Configuration
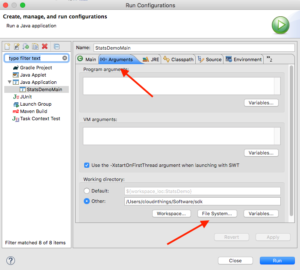
Then select the Argument tab > Working Directory > Other and click File System and navigate to the location of the SDK. Then click Apply > Close.
Now click the green run button and the application should kick into life. If you want to make any modifications, you can do so and then rebuild and run.
Note: You can edit the config.txt file to run a specific demo of your choice otherwise it will run the default of StatsDemo.